Blog Post 5: Dive into Creativity with Raisin Art: A DIY Adventure!
Hello, Art Journal community!
Ever found yourself intrigued by the idea of turning raisins into art? Today, we're diving into the world of Raisin Art – a delightful and accessible way to express your creativity. Let's get started on this fun and colorful DIY journey!
What you'll need:
- A suitable painting surface (canvas, wood, glass, metal, or concrete)
- Epoxy resin and hardener
- Measuring cup
- Gloves
- Paper cups
- Acrylic colors, alcoholic ink, or spray paints
- Ice cream sticks
- Heat gun or hairdryer
Instructions:
Mix it Up:
- Combine epoxy resin and hardener in a 3:1 ratio.
- Add a burst of color to the resin mixture.
Spread the Magic:
- Apply the resin mixture onto your chosen painting surface.
Heat it Up:
- Use a heat gun or hairdryer to gracefully dry the resin.
Voilà! Your Raisin Art is Ready:
- Once the resin is dry, your unique and vibrant creation comes to life!
Raisin Art Tips:
Play with Colors:
- Experiment with a variety of colors to craft captivating and interesting patterns.
Texture Play:
- Add extra flair by incorporating materials like glitter, sand, or beads into your resin mixture.
Patience is Key:
- Allow some time for the resin to thoroughly dry – patience ensures a flawless finish.
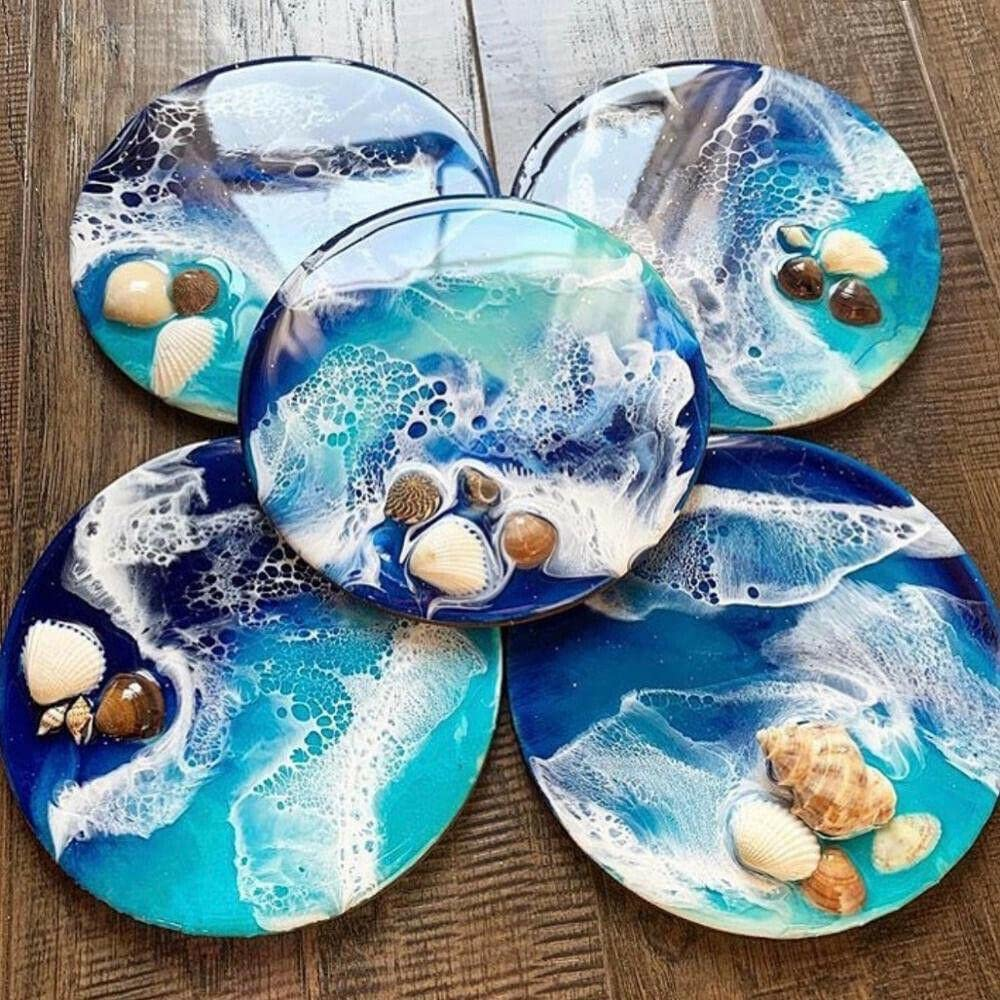
I'm eagerly looking forward to seeing your Raisin Art creations!


.jpeg)
Comments
Post a Comment